

 English
 中文
中文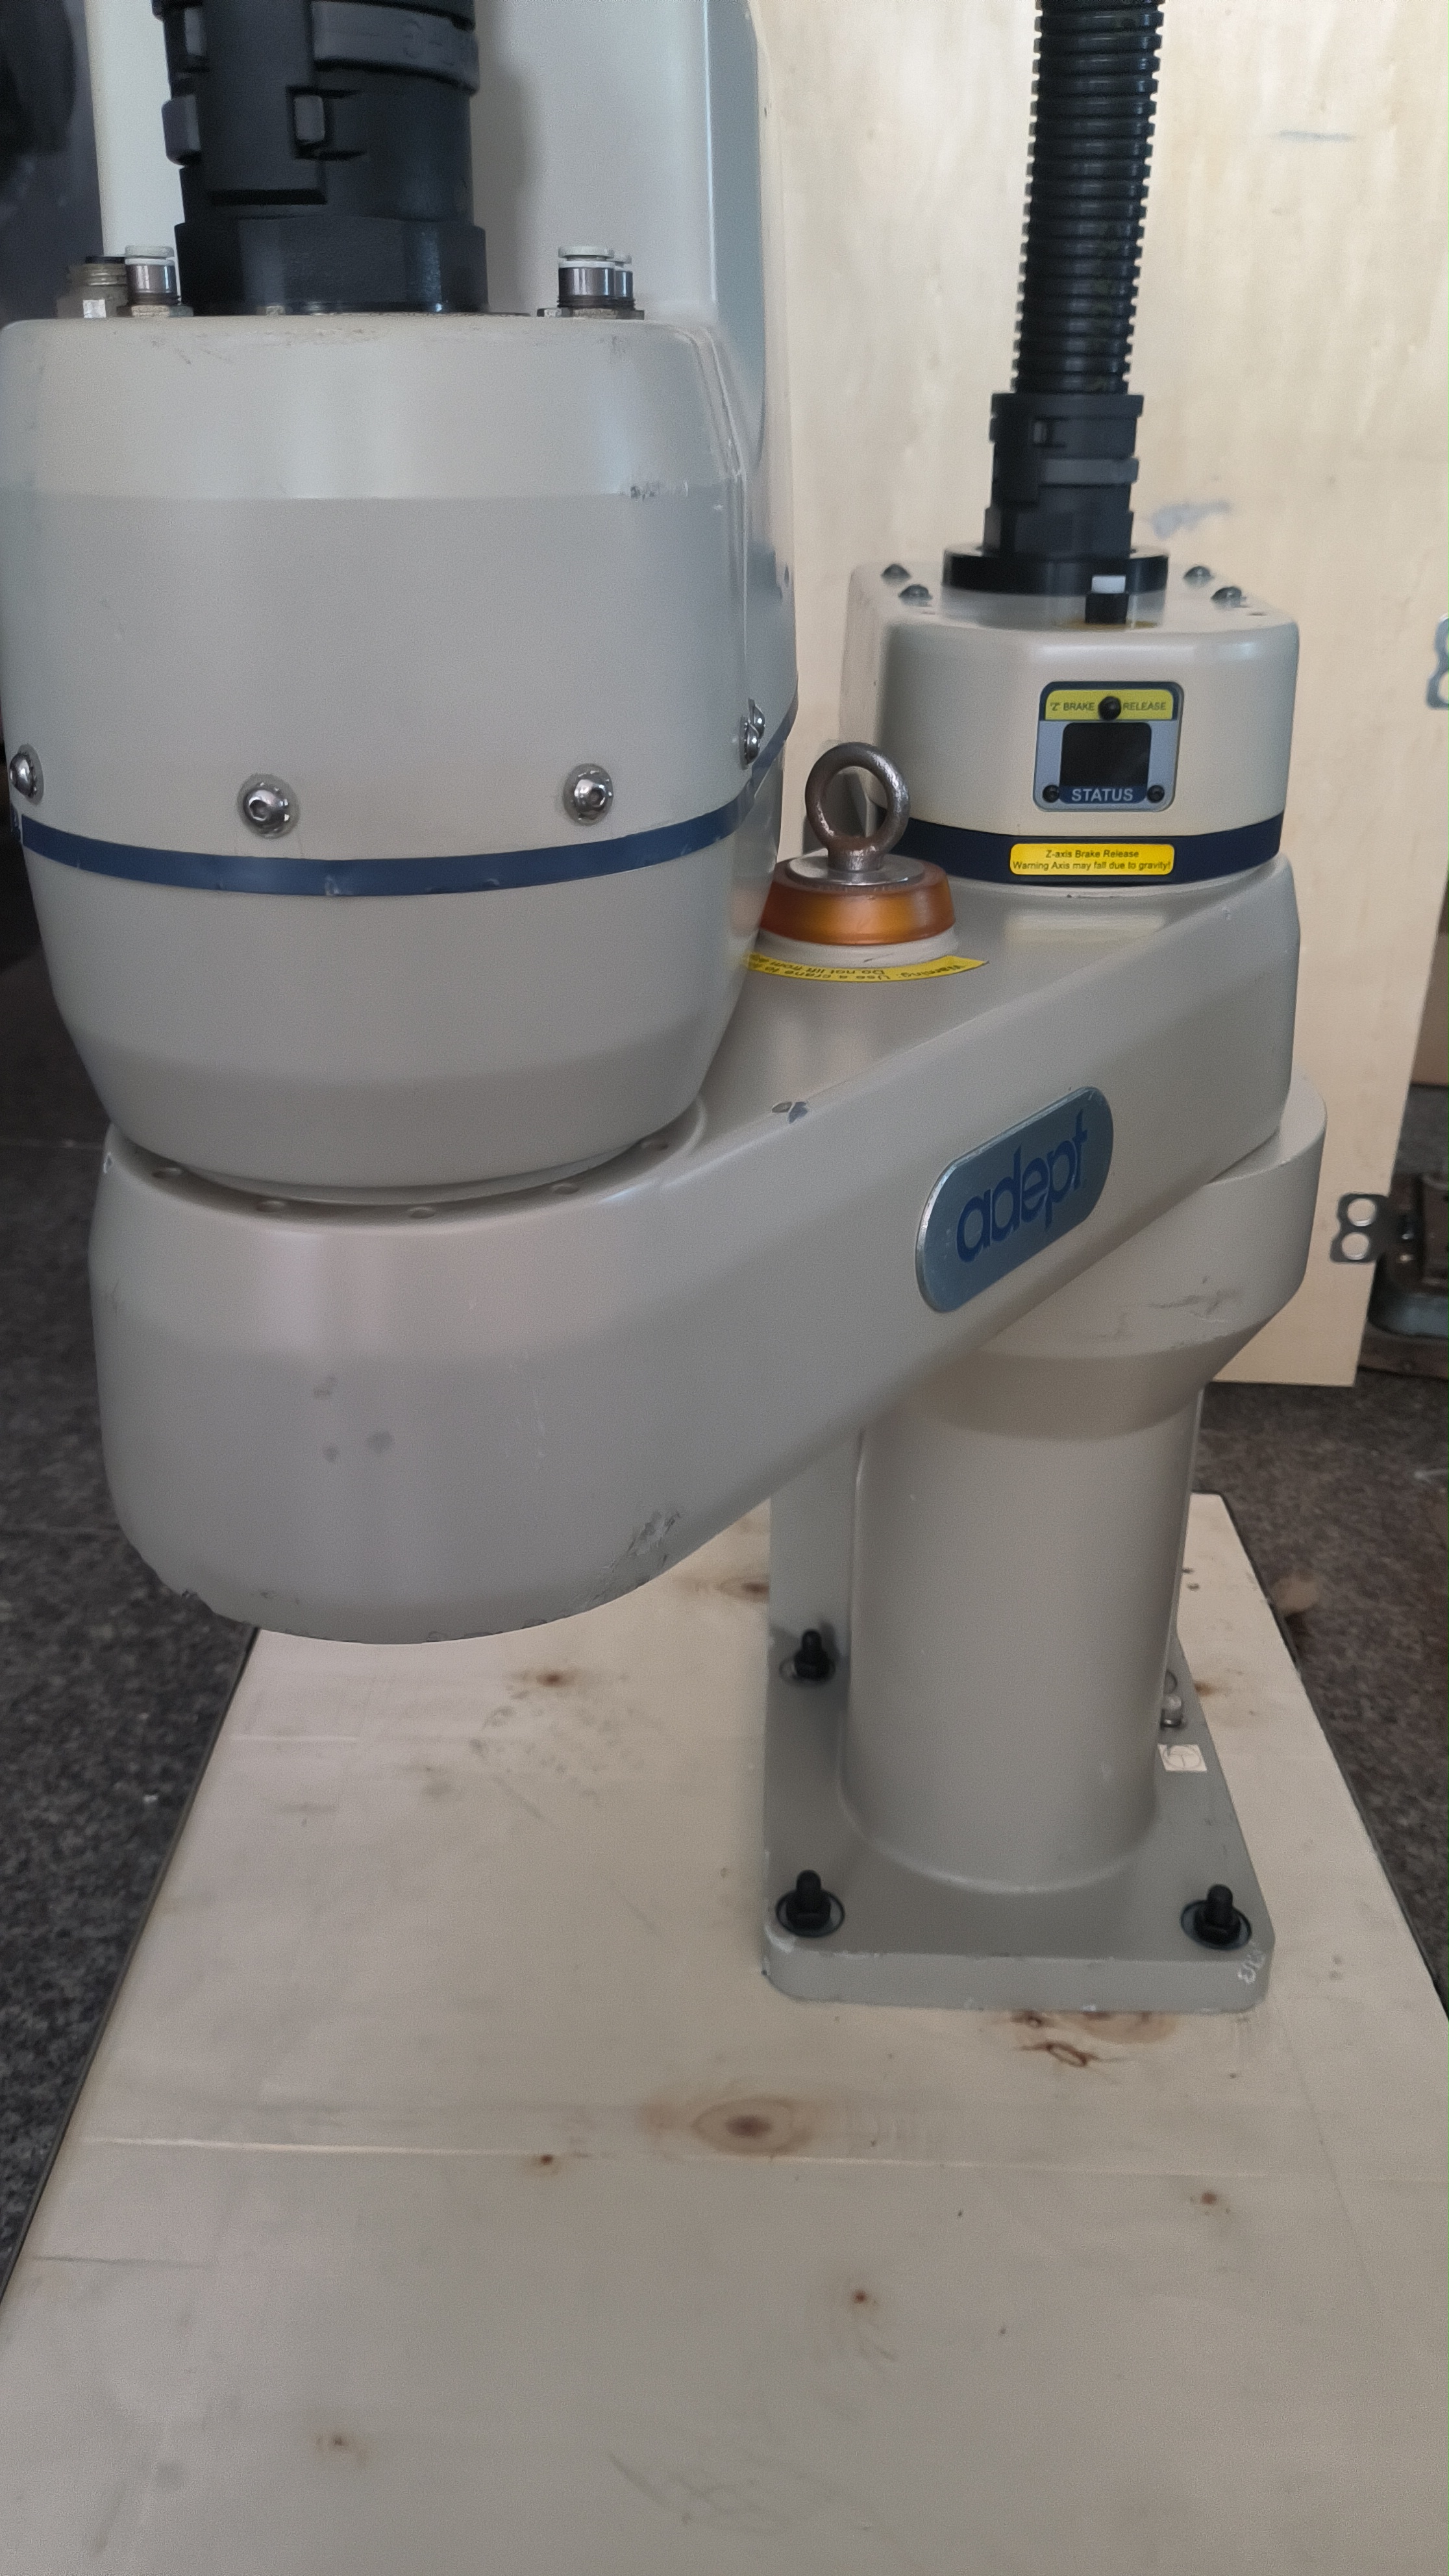

Call Us Now
TEL: +86 13386078659; Skype ID: Hanwei; WeChat: +8613386078659; QQ ID: 413882258.


Item No.:
TRE500S-TPPayment:
CIF / FOBProduct origin:
ChinaColor:
Blue Black RedShipping port:
ShangHaiLead Time:
15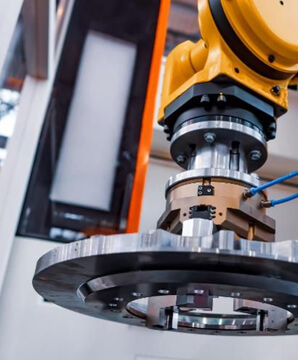
TEL: +86 13386078659; Skype ID: Hanwei; WeChat: +8613386078659; QQ ID: 413882258.
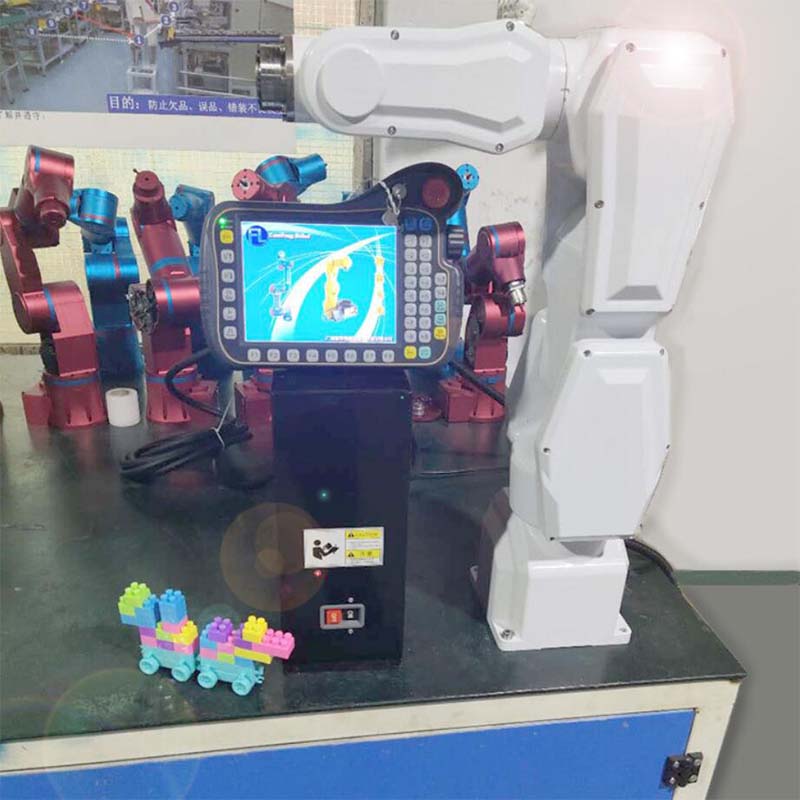
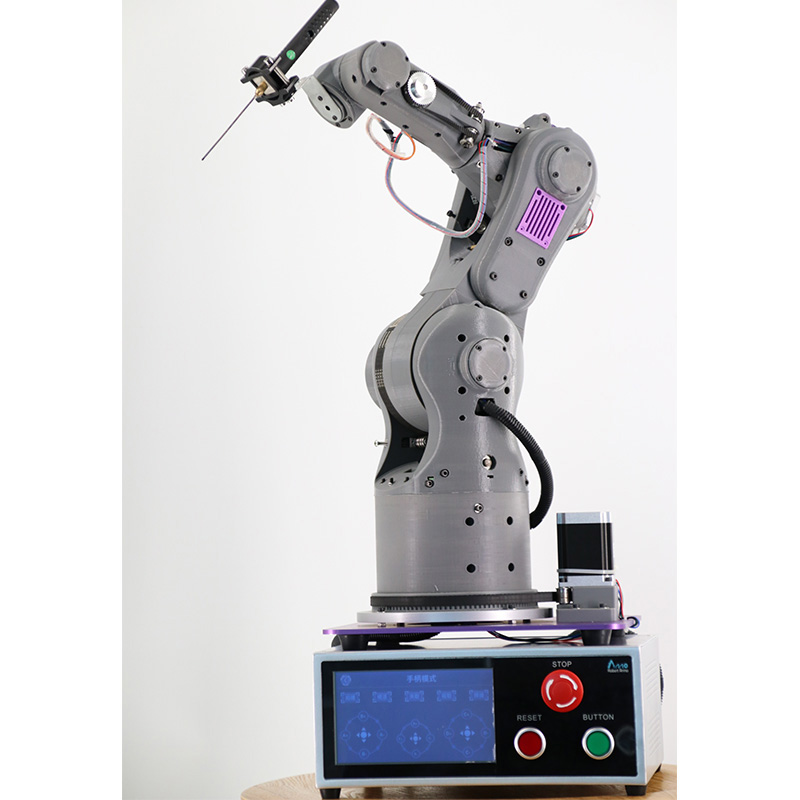
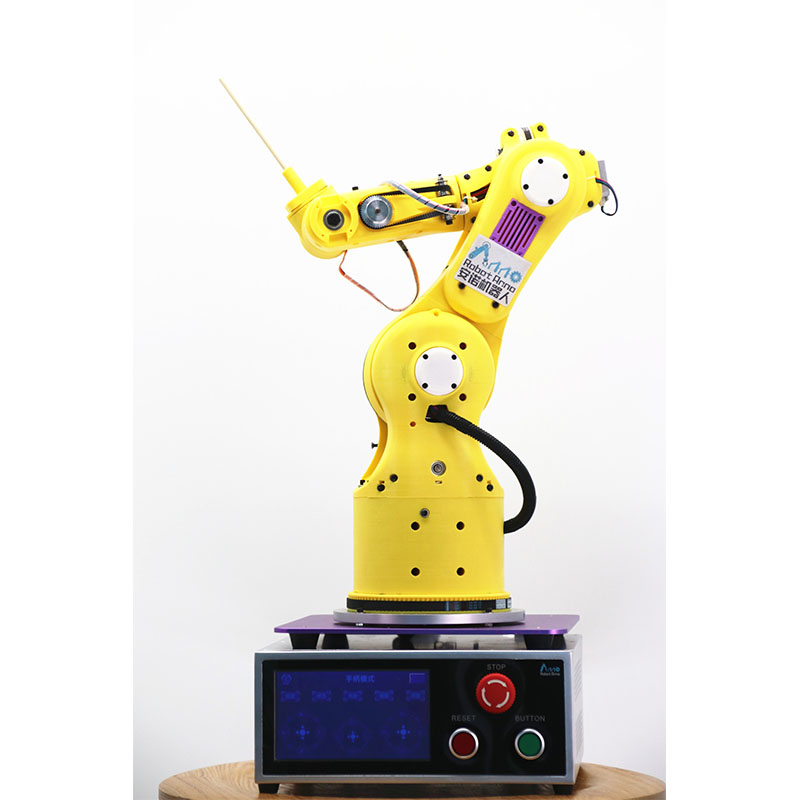
Instruction of six-axis robot training teaching platform
")
First: Introduction
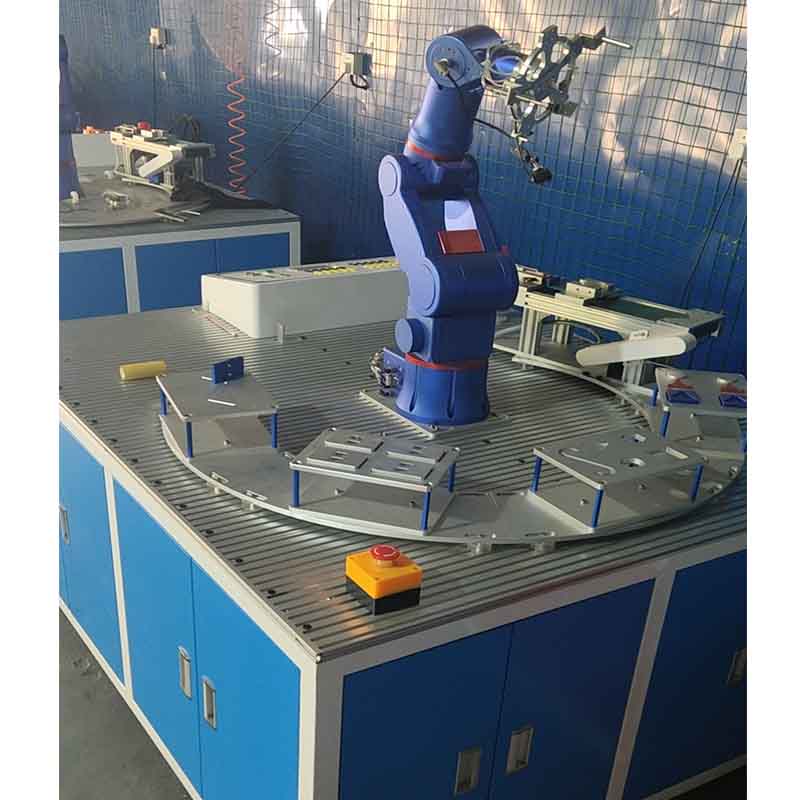
Thisrobot teaching and training workstation is based on a robot, equipped withcorresponding peripheral modular accessories, mainly including: industrialassembly line, palletizing handling, welding track module, material clamping,positioning pin, vacuum suction and detection.
Statusindicator lights, man-machine interface (optional), multi-function fixtures,etc., are combined to complete a relatively independent job or process with agroup of equipment combinations with manual assistance. Second:Three views and dimensions of theequipment
")
Third:Instructions for each functionalmodule (1)
")
Instructionsfor each functional module (2)
")
Fourth:Description of the action flow ofeach functional module
4.1Multi-function fixture
Multi-function fixture configurationinstructions: wide cylinder gripper, pin cylinder gripper, arc weldingsimulation, CDD vision camera (optional), vacuum suction cup, electricscrew driver (optional), and other configurations can be added according torequirements.")
4.2:Industrial transmission belt
Operation process description: the cylinder pushes the round block and fallsonto the conveyor belt, the belt transfers the round block to the front baffleposition, the sensor senses that the round block is in place and sends a signalto the PLC, and the PLC controls the belt to stop the transmission movementMove to the top of the round block and take it.
")
4.3:Palletizing platform
Operation process description: The vacuum sucker sucks the triangle into thesquare block. Then suck the circle into the triangle, and then put it back tothe original position.
")
4.4:Needle and arc welding track simulation
Action flow description: The manipulator moves the arc welding simulationcolumn (laser pointer) to the Z-shaped trajectory, and the manipulator controlsthe column to walk along the trajectory.
")
4.5:Cube gripping
Action flow description: The robot moves the wide cylinder gripper to the topof the block, descends and clamps the block to the specified position.
")
Fifth:Button description
Emergency stop: Control the robot to stop (press it to stop, turn it on andpress the start button to continue following the program.) Power: Control therobot power management. Start: Control the robot to move according to theprogram. Zero return: control the robot to return to the programmed zeroposition.
")
Sixth:Description of control wiring board
Through this controller, the communication between the robot and the PLC can beeasily realized, and at the same time, the wiring method and skills can beunderstood intuitively. Through the connection of various input points, theconstruction of various settings can be quickly realized, which is convenientfor learning and safe.
")
Seventh:Repair and maintenance
One: Please turn off the main power supply before repairing the equipment.Non-professionals should not open the power box.
Two: Please clean the work surface and turn off the main power and air sourceafter each use.
Three: Before operating the equipment, please pay attention to the environmentwithin the robot's movement radius to avoid safety accidents!
")
")
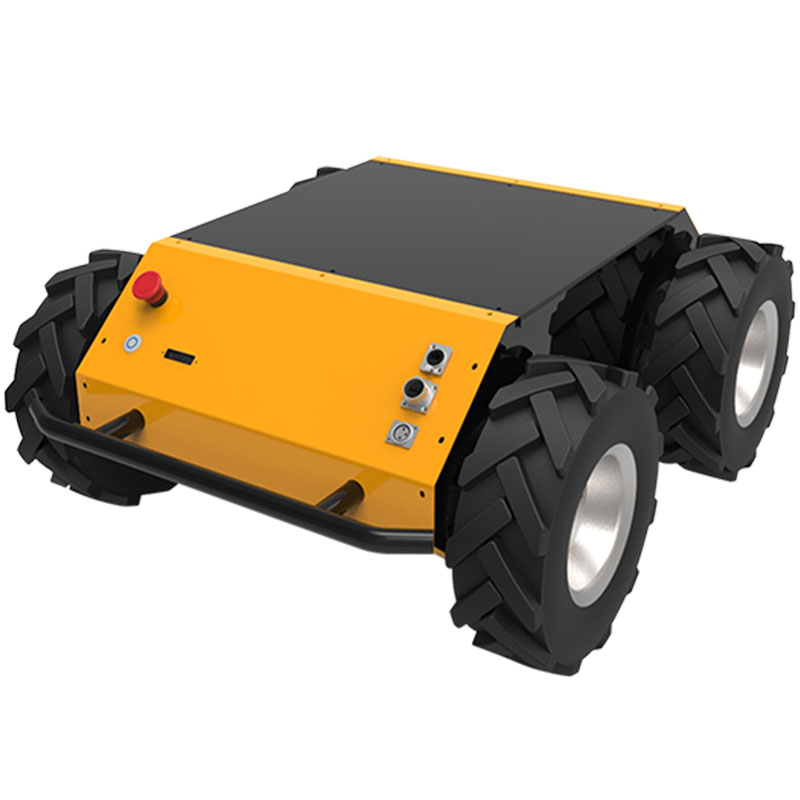
Mobile Robot Platform parameters: Curb weight: 70KG Rated load: 85KG Geometric size: 974.16*782.02*364 (mm) The fastest spe...
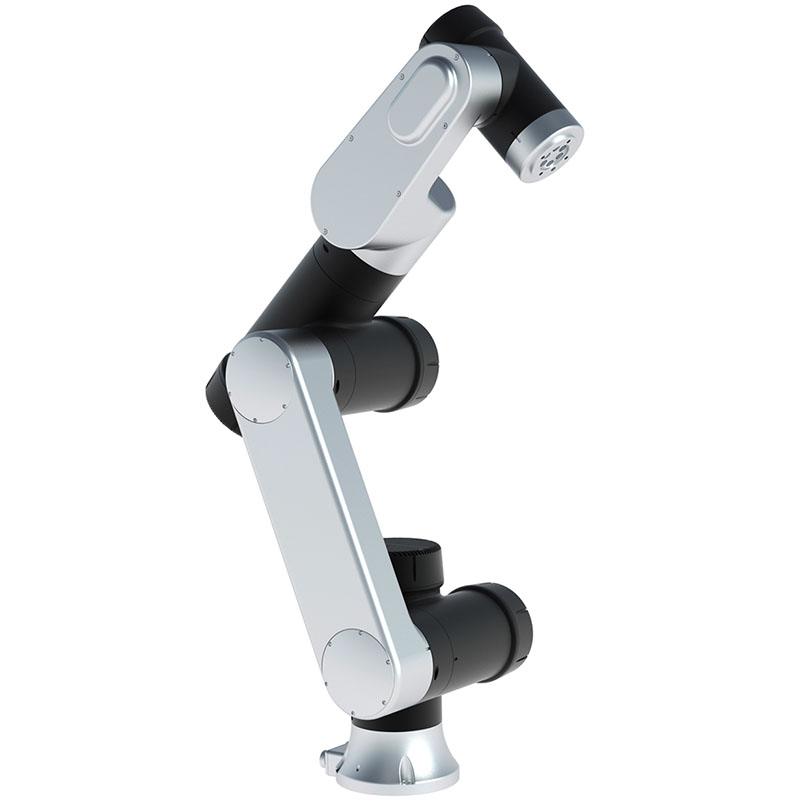
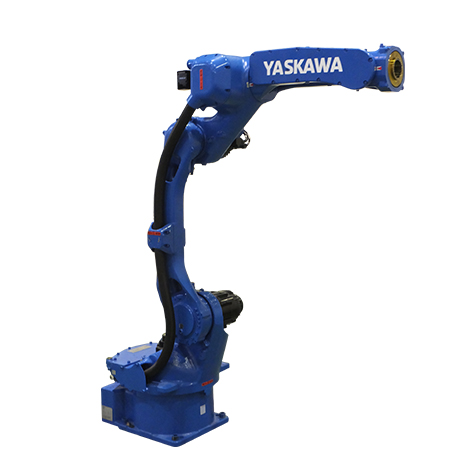
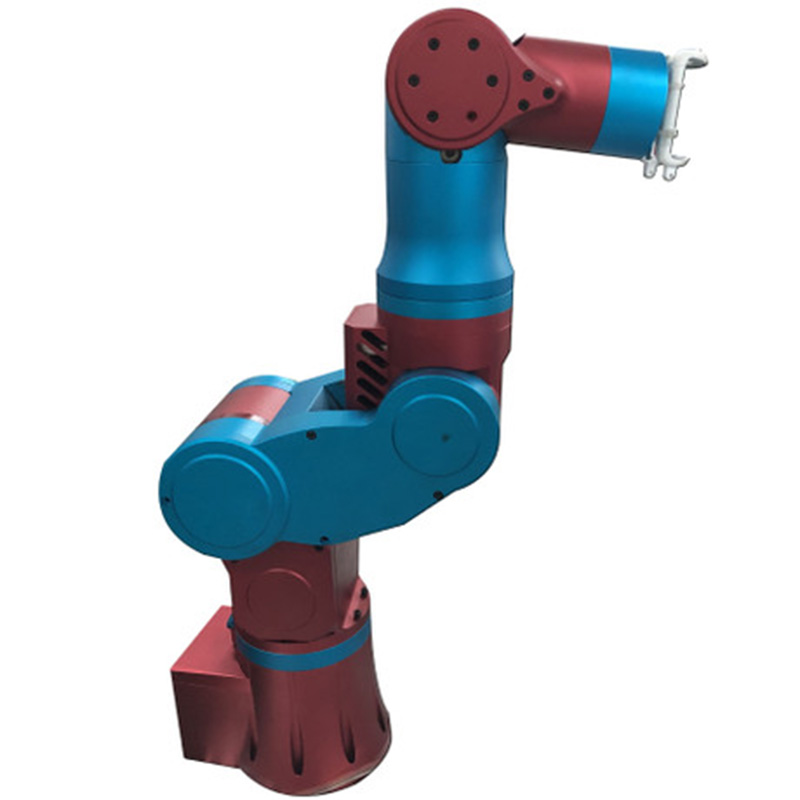
TRE5-8CO is a 6-axis vertical multi-joint Cobot with an effective load of 5KG. It can adapt to a variety of different applica
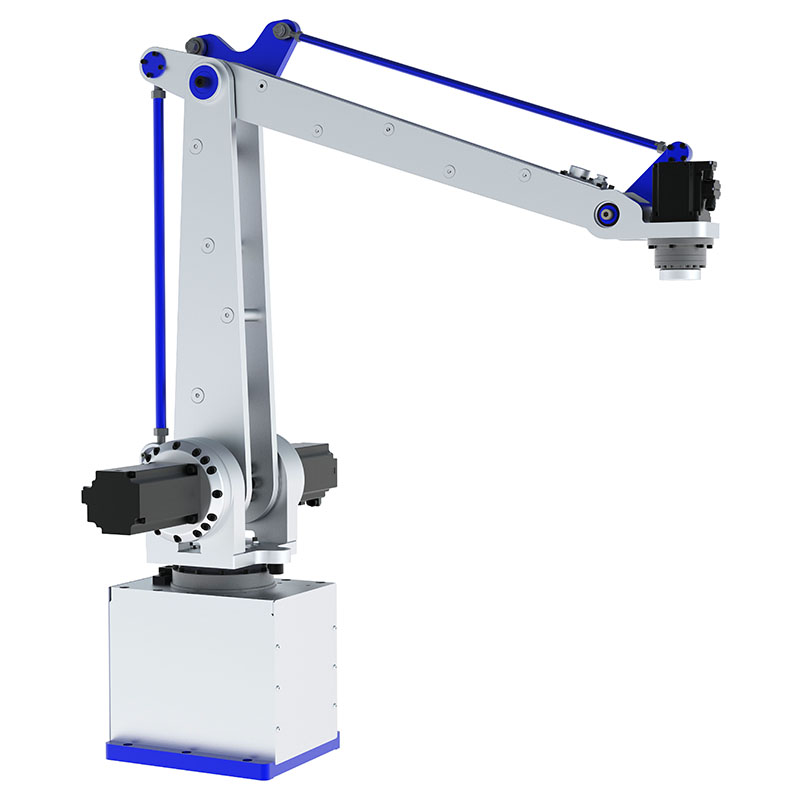
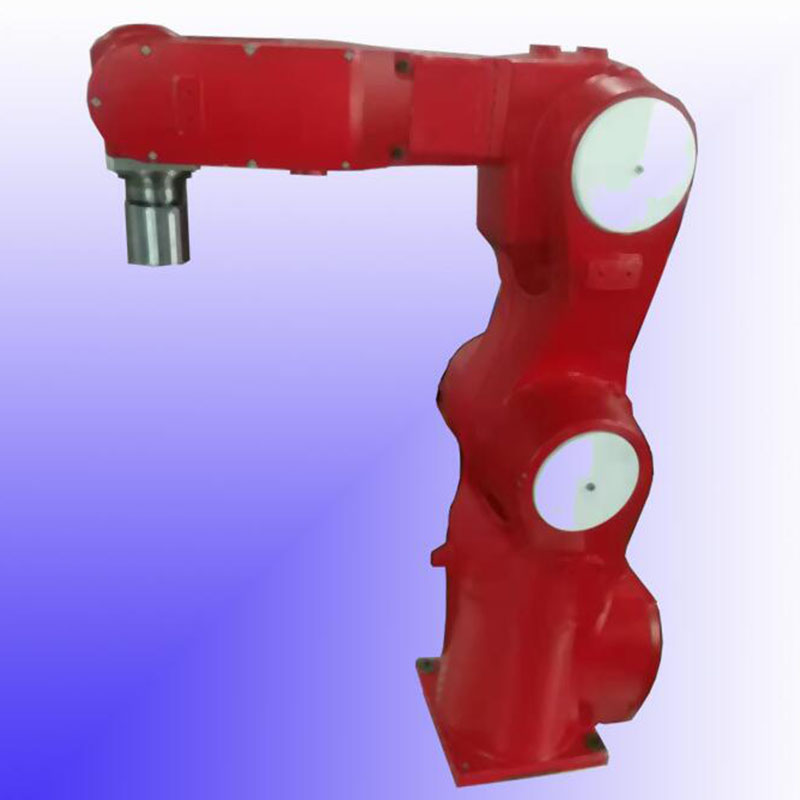
TR5-850 is a 4-axis vertical multi-joint robot with an effective punching load of 5KG. It can adapt to a variety of different
Main Products: Commercial robots, teaching robots (teaching robots for universities, middle schools and elementary schools)
Industrial 6 axis robot arm training platform training targets: *Usefully running 6 axis robot arm by program *Usefully for I
Main product applications: commercial robots, teaching robots (teaching robots for universities, middle schools, and elementary schools), collaborative six-axis...
Applications include CNC machining centers, CMM measurement centers, CNC lathes, wire cutting, milling machines, grinders and

EDU Robot Applications: Commercial robots, teaching robots (teaching robots for universities, middle schools and elementary s
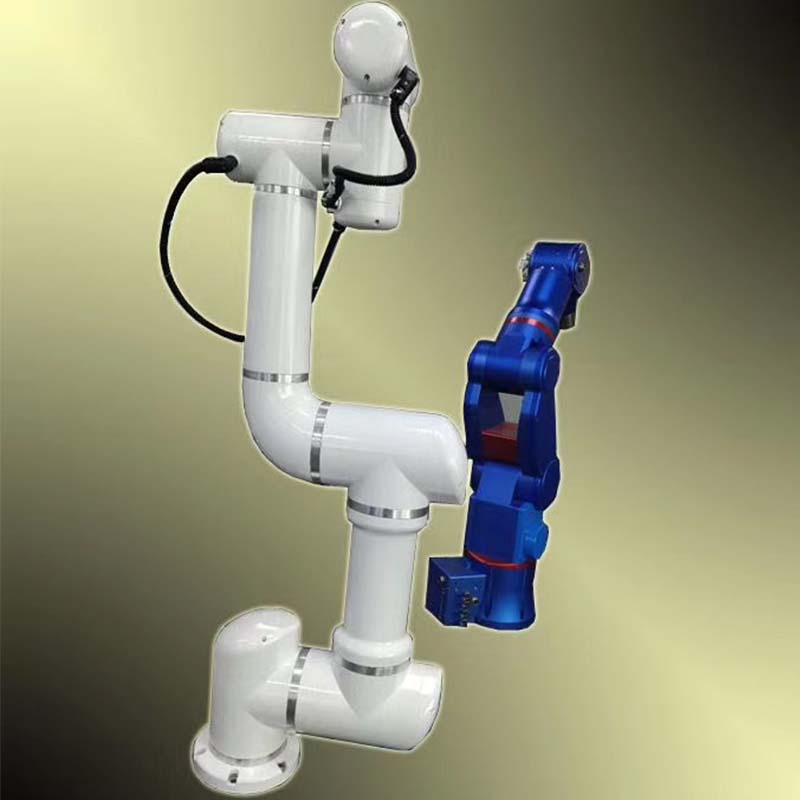
TheTRE500S bodyjoint is made of high-strength aluminum to ensure the machine‘s high strength,high speed, high accuracy and hi
TRE06P6 axis educational robot can be used for high school, robot engineer training school purpose.
The 6 axis robot Support PC, mobile phone, teach pendant, voice, APP, and otherintelligent interactive control methods.


Please read on, stay posted, subscribe, and we welcome you to tell us what you think.
 Online service
 +86 13386078659
 ysb189@163.comyusb@shhanwei.cnhanwei@shhanwei.cn
 Hanwei
 Hanwei
 413882258
 +8613386078659